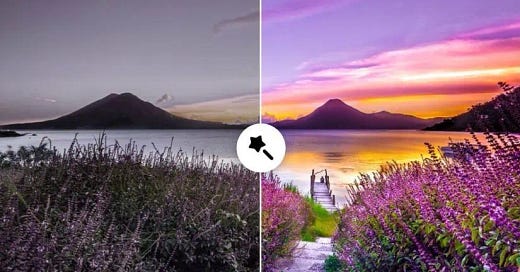
AI Background Change: Transform Your Photos in One Click!
One-Click AI Background Removal for Stunning Results!
Hey there, photo enthusiasts! Ever wished you could change the background of your pictures without spending hours glued to your laptop? Well, you’re in for a treat today! I’m diving into the magic of AI background change—a total game-changer that lets you transform your photos with just one click. Whether you’re snapping casual selfies or aiming to up your Instagram game, this guide is for you. I’ll walk you through how AI makes this process super easy, share some pro tips, and help you get jaw-dropping results in no time. Let’s jump in!
Why Changing Backgrounds Matters
Imagine this: you’ve got an amazing photo of yourself, but the background is a messy kitchen or a plain, boring wall. Or maybe you’re a small business owner needing clean, professional product photos for your online store. Back in the day, changing a background meant hours of tedious editing in Photoshop—not fun! But now, thanks to AI, that’s history. AI-powered tools can spot your subject, remove the background, and replace it with something gorgeous in seconds. It’s like having your own photo editor right at your fingertips!
Here’s the best part: you don’t need to be a pro to do this. Want to add a dreamy beach to your vacation pics or a sleek studio vibe for your e-commerce shots? AI makes it simple for everyone. Plus, it saves you time and money—two things we all love! So, let’s see how this works and how you can master it yourself.
How AI Background Change Works
So, how does this wizardry happen? AI uses a technology called machine learning to analyze your photo. It identifies the main subject—like you, your pet, or a product—and separates it from the background with incredible accuracy. Then, it removes the original background and lets you add a new one, whether it’s a preset image or one you upload. Tools like Remove.bg, Canva’s AI features, or Adobe Photoshop’s Neural Filters are trained on millions of images to nail this process, recognizing edges and details perfectly.
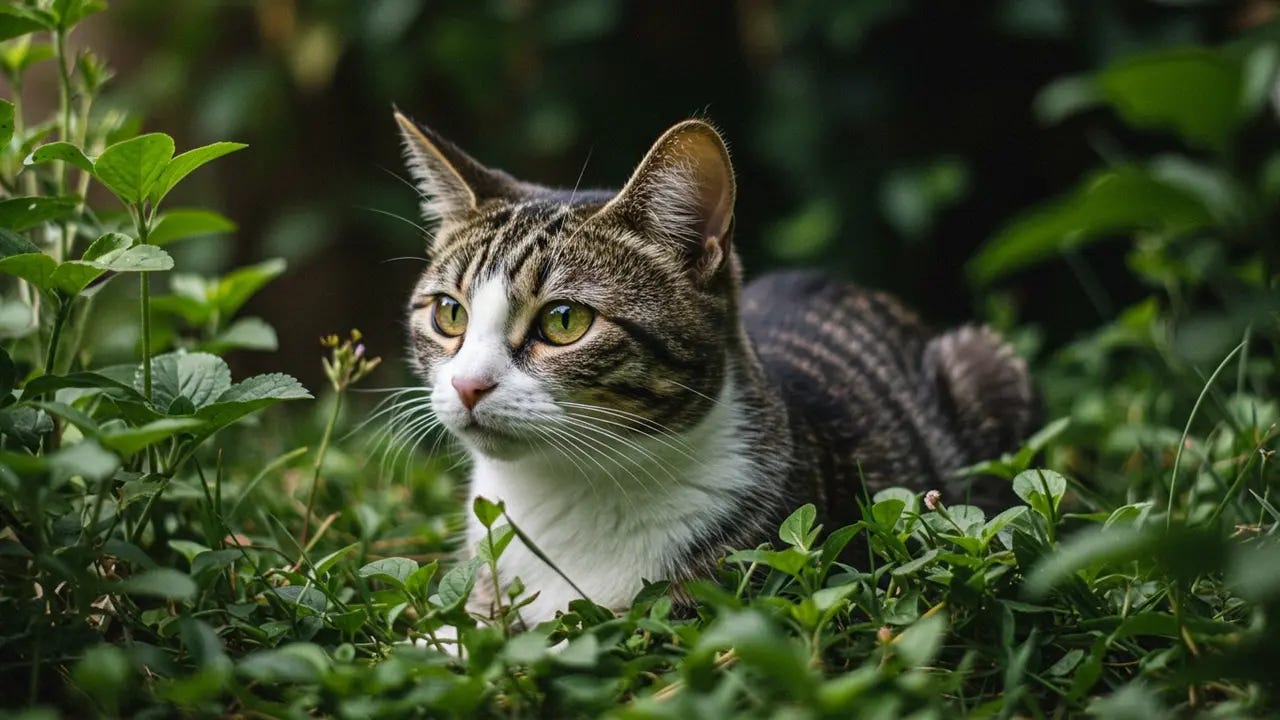
For example, if you upload a photo of your cat lounging on the couch, the AI can remove the couch and place your cat in a sunny garden instead. It even adjusts lighting and shadows to make it look seamless—pretty impressive, right? This tech relies on complex algorithms, but you don’t need to be a tech genius to use it. Most tools have a user-friendly interface, and I’ll share the best ones in a moment.
Top AI Tools for Background Removal and Change
Let’s talk about the tools you’ll love! These are my go-to picks for changing backgrounds, and they’re perfect for both beginners and pros. They’re easy to use and deliver great results.
Remove.bg: A free online tool (with paid upgrades) that removes backgrounds in seconds. Just upload your photo, and it gives you a transparent PNG file. You can then add a new background in any editor. It’s perfect for quick edits, especially for portraits or products.
Canva: If you’re into design, Canva’s AI-powered “Background Remover” is fantastic. It’s free with a Canva account, and you can change backgrounds right on the platform. They also have a library of beautiful images to choose from.
Adobe Photoshop (Neural Filters): For pros, Photoshop’s AI features like “Select Subject” and “Neural Filters” give you advanced control. You can change backgrounds and tweak details like lighting. It’s a paid tool, but worth it for serious editing.
Fotor: A free online editor with an AI background remover and tons of preset backgrounds. It’s great for casual users who want fast, polished results.
Luminar AI: Photographers love this one. Luminar uses AI to remove and change backgrounds while adding natural effects. It’s a paid option but offers a free trial.
Each tool has its own strengths, so I’d suggest trying a few to find your favorite. If you’re new to this, start with Remove.bg—you’ll be blown away by how quick it is!
Step-by-Step Guide to Changing Backgrounds with AI
Ready to give it a shot? Here’s a simple step-by-step guide using Remove.bg. Let’s do this together!
Pick Your Photo: Choose a high-quality image with a clear subject. Well-lit photos work best—think natural daylight or a bright indoor setting.
Upload to the Tool: Go to Remove.bg, upload your photo, and let the AI work its magic. This usually takes 5-10 seconds.
Download the Result: Once the background is removed, download the image with a transparent background.
Add a New Background: Open the image in Canva or another editor, and add a new background—like a sunset or a cityscape. Adjust the size to match.
Fine-Tune: Check the edges and lighting. Most AI tools auto-adjust, but you can tweak shadows or colors for a seamless blend.
And that’s it! You’ve just transformed your photo. For your first go, try a portrait—it’s the easiest to work with. I did this with a photo of my cat, and now she’s “chilling” in a garden—so cute, right?
Pro Tips for Amazing AI Background Changes
Let’s take your skills up a notch with some pro tips. These will help your photos stand out and impress everyone who sees them.
Match the Lighting: Make sure the new background’s lighting matches your subject. If your photo was taken in daylight, don’t use a dark, moody background—it’ll look off. Tools like Luminar AI can adjust this automatically.
Use High-Resolution Images: Start with a high-res photo (at least 300 DPI). Low-quality images can result in pixelated edges after the change.
Play with Edges: Some AI tools leave rough edges. Zoom in and use a manual eraser in Photoshop or Canva to clean them up for a polished look.
Add Subtle Effects: Use AI to add soft shadows or reflections to blend your subject with the new background. It makes everything look more realistic.
Try Different Backgrounds: Don’t stick with the first one you try. Experiment with urban, nature, or abstract backgrounds to find the perfect vibe for your photo.
I once changed a friend’s background from a cluttered room to a mountain scene, and adding a slight shadow made it look like she was really there. Those little details make all the difference!
Common Mistakes to Avoid
Even with AI, things can go wrong. Here’s what to watch out for so you don’t waste time.
Overdoing Edits: Don’t over-edit after the change—too many tweaks can make it look unnatural. Let the AI handle most of the heavy lifting.
Ignoring Lighting Mismatches: A bright subject on a dark background looks fake. Always double-check the lighting balance.
Forgetting a Backup: Always save your original photo. One wrong move, and you might lose it!
Using Low-Quality Backgrounds: A blurry or pixelated background ruins the effect. Use high-quality images from sites like Unsplash.
I learned this the hard way when my first background change looked cartoonish because I ignored the lighting—oops! Save yourself the hassle and check twice.
Fun Ideas and Real-Life Examples
Need some inspiration? Here are some cool ideas to try with AI background changes.
Travel Dreams: Take a selfie at home and change the background to a famous landmark like the Taj Mahal. It’s a budget-friendly way to “travel”!
Product Photos: If you sell online, change a cluttered desk background to a clean white or lifestyle setting to boost your sales.
Pet Pics: Put your dog on a forest backdrop—your followers will love the creativity.
Event Memories: Change a group photo’s dull background to a festive scene for a memorable post.
I tried the pet pic idea with my cat, and it got 50 likes on Instagram in a day. People can’t resist a good background change!
Why This Should Matter to You
Changing backgrounds with AI isn’t just fun—it’s super practical. For social media, it helps you create unique posts that stand out. For businesses, it upgrades product photos without the cost of a pro photographer. And for personal projects, it lets you reimagine memories with a fresh twist. Plus, it saves you money on pricey editing software or services. Imagine the thrill of sharing a pro-level photo you edited yourself!
Ready to Take It Further?
Want to dive deeper? Think about joining me on Substack for a series on AI photo editing. I can share weekly tips, tool reviews, and exclusive tutorials to level up your skills. For now, start with Remove.bg, play around with a few background changes, and let me know how it goes—I’d love to see your creations! If you’re up for more, let’s connect and explore advanced techniques together.
So, what do you think? Ready to change that boring background and impress your friends? Grab a photo, give it a try, and share your thoughts with me. Happy editing!


